Using images with typography can be fun and effective. You can spice up your work in Photoshop by learning to combine text and image effects. Simply follow these two methods; play around with colours and effects to make them exactly how you wish…
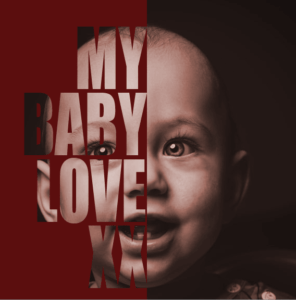
Combine Text and Image Effects with a Face Portrait
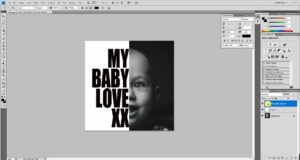
With this design, you can use typography to portray part of your image.
1. Open an image of a face (one with a dark background is best).
2. Add a new layer.

3. Select the Rectangular Marquee tool and draw a box over half the face (e.g. the left side).

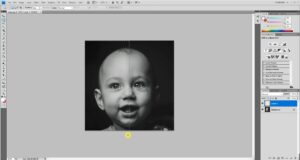
4. Click on the Paint Bucket tool and fill in the Marquee shape with a colour.

5. Add a new layer and select the Text tool.

6. Pick a nice thick font and a visible text colour.
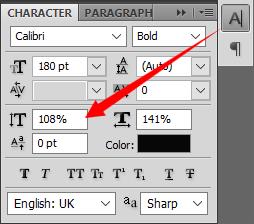
7. Type text running down the left side of the face. You can use the Character tool to reduce the space between letters.

8. To readjust the size and positioning of text, press Ctrl+T for the Free Transform tool.
9. In the text layer, hold down the Ctrl key and press the T icon. This will select the text on the image.
10. Uncheck the eye icon on the text layer. This will make the text transparent.
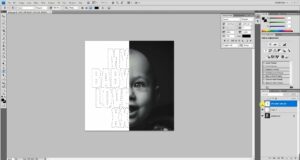
11. Click on layer 2 and press delete. This will reveal the image underneath the text.
12. Go to Select → Deselect (or Ctrl+D).
13. Use the Free Transform tool (Ctrl+T) to make any final size adjustments.
Optional
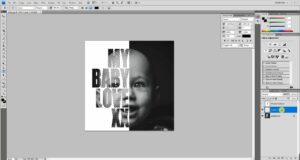
14. If you want to change the colour of the Marquee box:
Press fx or right-click on layer 2 → Blending Options → Colour Overlay → click on the shaded box and experiment with your colours.
15. Then you can adjust the image tint to blend with your foreground colour:
Select Background Image layer → Adjustments tab → Hue/Saturation → tick the box ‘Colorize’ → play with the hue to get a coloured tint like the colour of your Marquee box.
(See video for detailed instruction)

Combine Text and Image Effects by Blending
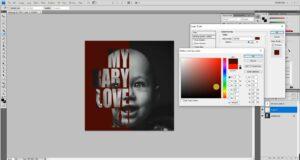
With this design, you can fill your text with an image.
1. Change your background layer to your preferred colour.
2. Add a new layer and type your text.

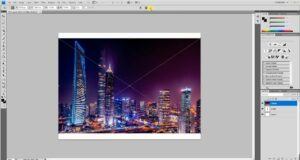
3. Add another layer → File → Place → select your saved image.

4. While on the image layer, press Ctrl+Alt+G to wrap the image into the text.
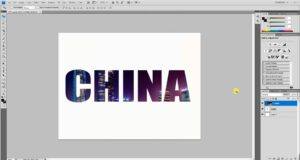
5. Using the arrow tool, you can adjust the image to fit within the text however you want.
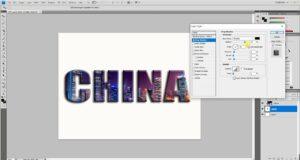
6. Press fx or right-click on text layer → Blending Options. Here you can add effects to give more depth to your text, like Bevel & Emboss and drop shadow.
7. If you want to change your text, make sure you’re on the text layer. Select the text tool and simply retype.

(See video for detailed instruction)
Like What You See? Here are some more tips and tricks: